I made it work.
Here's how...
Supplies:
- Cookie Sheets (at least 4)
- Brayers (at least 4)
- Water Soluble Block Printing Ink
- Large Construction Paper
- Lots of Plain Printing Paper (stolen periodically from teacher workroom)
- Lots of Cheap Ballpoint Pens
- Masking Tape
- Newspaper
- Several Old "Throwaway" Paperback Books (I have a ton from the $1 bin at Half Price Books I keep handy--more on that later!)
Steps:
- (Optional) Introduce students to a Brief History of Printmaking. I have a great powerpoint slideshow that I put together a couple of years ago that I'd be happy to email to anyone who requests it. Or I can try to figure out how to attach it to the blog later... Even though Trace Monotype is a painfully easy process, it's still nice for students (especially young students) to know a bit about all of the various ways Printmaking has influenced art and how some of the many methods of Printmaking work. Otherwise, it's easy for kids to sometimes operate under the misconception that the way they learn something is the ONLY way to do it.
- Prepare sketches/drawings for prints. (Note: Remember to remind students that their print will be the mirror image of their print constantly!) Okay, so I am really big on realistic/technical drawing skills and I HATE tracing with a passion. Even when kids just want to use something round in the room to trace a circle, I flip my lid and insist on helping them draw a circle on their own. I just think tracing has no place in an art class, and students will learn so much more from practicing actual drawing skills AND have more pride in the finished product in the end regardless of the fact that a traced image might have looked "better." So, I made a big fuss about explaining that the trace in Trace Monotype refers to the process of tracing your own drawing to make the print. It does not mean you should copy or trace from a photo or someone else's artwork, etc. I also made students limit cartoon imagery and required that they have at least 3 drawings done from realistic images/photographs. I gave a progress grade at the end of the first week and required that all students have at least 5 drawings prepared, so they could pick their best ones for printmaking. The final grade was based on all students having at least 3 prints. This way, they could work out any issues they might have the first time they printed and really get the hang of the process.
- Start Printing 4 students at a Time at Printmaking Station: If you have never done printmaking in your art class before, I do not advise having more than 8-10 students printing at one time (depending on your room size/supplies, of course). In the the tiny classroom I had last year, 4 students at a large table at the front of the room was max occupancy. I conducted my demo like a cooking show and had a volunteer student perform the demonstration with my detailed instruction. That way the students get to see a fellow student make a print and get motivated to make their prints out of envy and fascination at how easily a cool product is made.
- Roll out an even layer of ink on the cookie sheet using a brayer. Make sure your ink "pad" is no larger than the drawing paper you have used to make your sketch.
- (optional) Use a piece of copy paper to blot the ink pad. This is often necessary when inexperienced students use way too much ink or do not roll the ink pad out evenly. Troubleshooting this issue and wasting some ink is often better than insisting they roll out a perfect ink pad, trust me.
- Carefully lay a large piece of construction paper on top of the ink, and use masking tape to secure in place. Do not move the paper once it has been laid on top of ink pad.
- Lay drawing on top of construction paper and tape down securely as well.
- Using cheap ballpoint pen & old books for hand rests, begin to trace over drawing applying more pressure when dark lines or value is needed.
- When done, peel print off of ink pad and enjoy!
Helpful Tips:
-Appoint at least 2-3 expert students to assist other students with printing/clean up in every class. It will make your life so much easier.
-Have a sign up sheet. Make a list of students who are ready to print each day. Don't let slackers slip through the cracks (put their names on the list regardless at some point).
-Set a goal at the start of each class period "Today, we want 15 students to complete their first/second print!" (etc.)
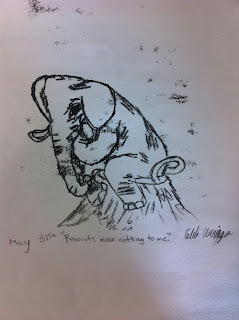
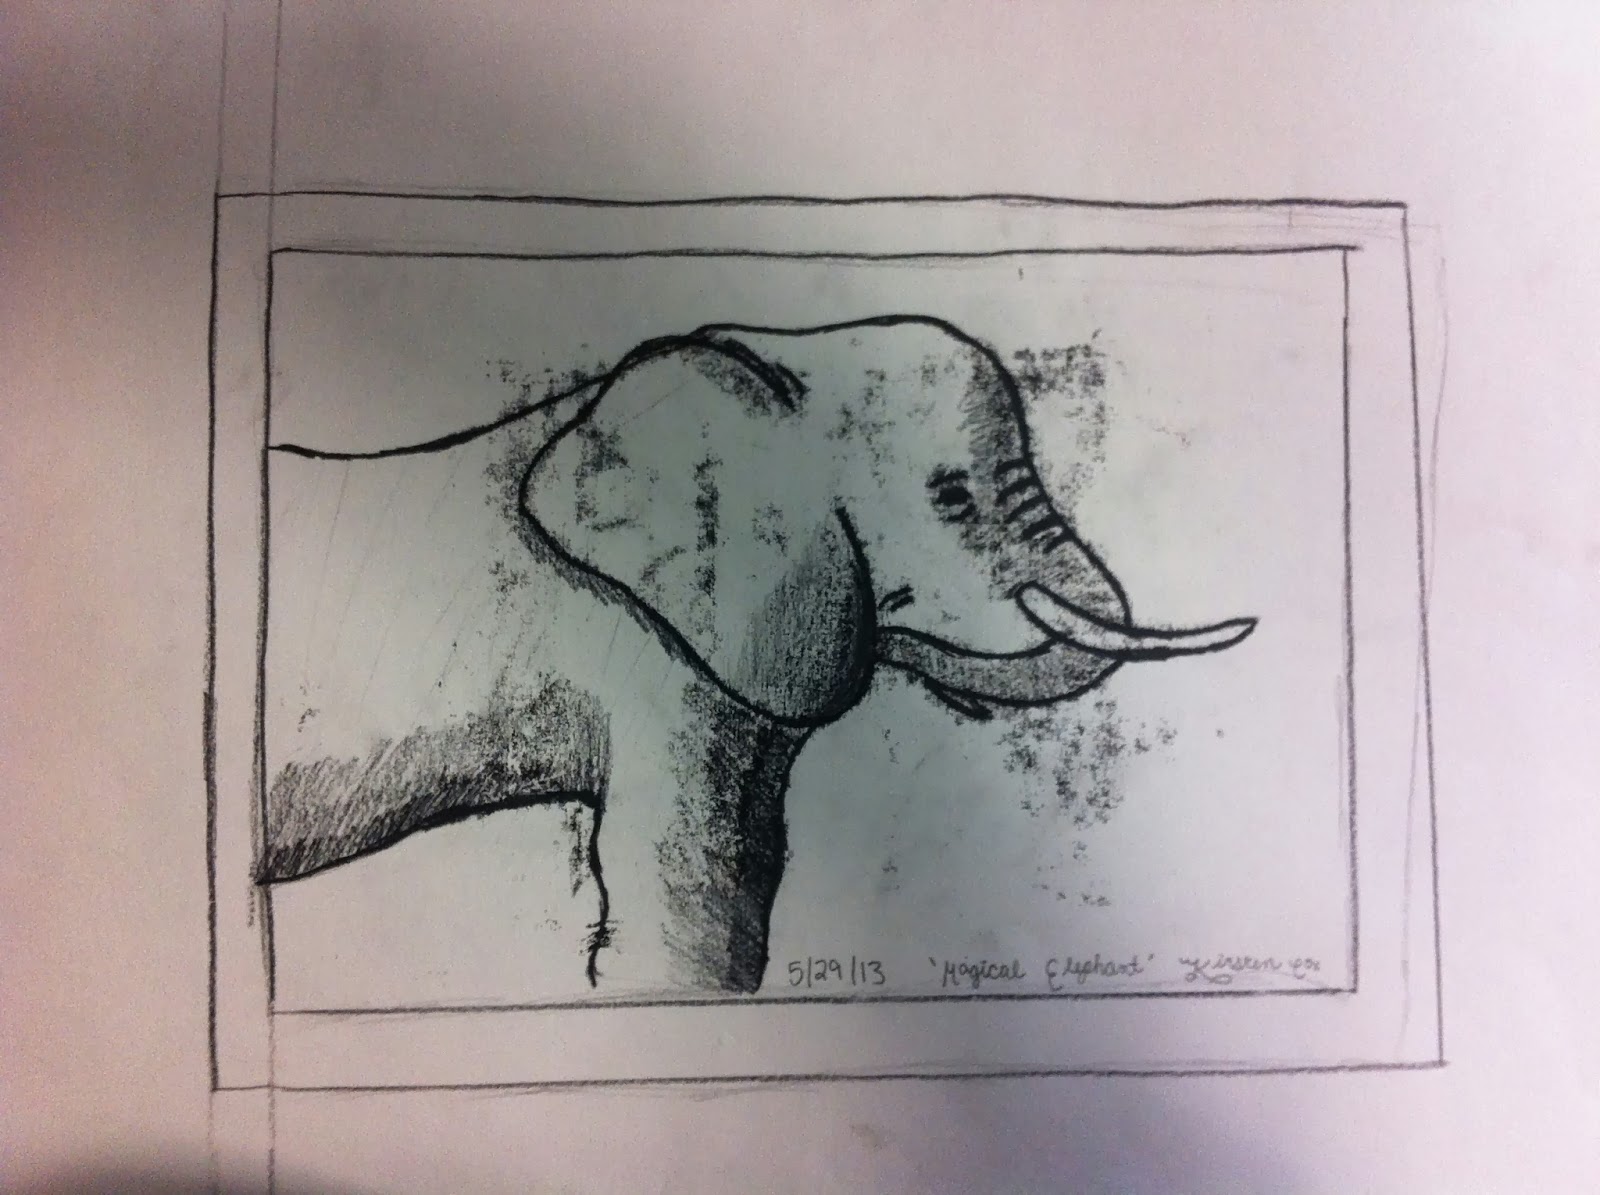
In a perfect world, I would have photographs of step-by-step phases of this inexpensive Trace Monotype project, but it's not. So, here are some lovely completed prints from my lovely 6th graders in May of 2013...


No comments:
Post a Comment